Discover the perfect guide to crafting beautiful wooden jewelry boxes with free PDF plans. These detailed designs offer a creative way to store treasures, ideal for DIY enthusiasts.
Overview of Wooden Jewelry Box Plans
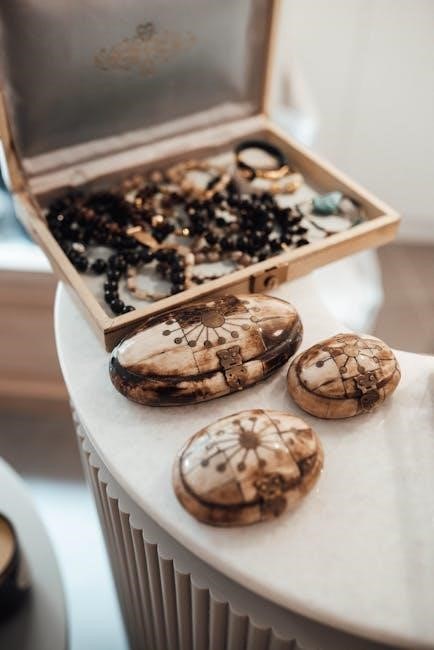
Wooden jewelry box plans offer a variety of designs, from simple to intricate, catering to all skill levels. These plans typically include detailed diagrams, material lists, and step-by-step instructions. Many designs allow for customization, enabling you to personalize the box to suit individual preferences. The use of PDF plans ensures clarity and ease of printing, making the woodworking process accessible and enjoyable. Whether you’re a beginner or an experienced craftsman, these plans provide a comprehensive guide to creating a beautiful, functional jewelry box.
Why Use PDF Plans for Woodworking Projects
Using PDF plans for woodworking projects offers clarity and convenience. These files are easily downloadable and printable, providing a clear, high-quality format for diagrams and instructions. PDFs ensure consistency across devices, making it simple to reference plans offline. They often include detailed measurements, material lists, and step-by-step guides, essential for accuracy. This format is ideal for woodworking, as it allows you to work efficiently without relying on internet access, ensuring a seamless experience from planning to execution.
Materials and Tools Needed
High-quality wood, such as oak or maple, and basic woodworking tools like saws, sanders, and drills are essential for crafting a wooden jewelry box. Ensure you have hardware and finishes on hand to complete the project successfully.
Essential Woods for Jewelry Boxes
Choosing the right wood is crucial for crafting a wooden jewelry box. Popular options include oak, maple, and walnut, which offer durability and a polished appearance. For a luxurious look, consider mahogany or cherry. These hardwoods are ideal for intricate designs and ensure longevity. Softwoods like pine are more budget-friendly and can be stained to match any aesthetic. Always select wood with a smooth grain to enhance the box’s visual appeal and ensure a professional finish. Properly seasoned wood is essential to prevent warping during construction. If using a wood not specified in your plans, adjust dimensions or hardware accordingly to maintain structural integrity and avoid confusion during assembly.
Tools Required for Construction
To build a wooden jewelry box, essential tools include a table saw or hand saw for cutting wood, a sander for smoothing surfaces, and a drill press or hand drill for precise holes. Clamps are necessary for securing pieces during assembly, while measuring tapes and square tools ensure accuracy. A hammer and chisel set can aid in fine adjustments. Safety equipment like safety glasses and a dust mask are crucial for protecting yourself while working. These tools will help you achieve a professional finish and ensure your project runs smoothly. Refer to your PDF plans for specific tool recommendations tailored to your design.
Design Considerations
When designing a wooden jewelry box, consider size, layout, and aesthetic elements. Choose dimensions that fit your needs and incorporate features like compartments or linings for functionality and style.
Choosing the Right Size and Layout
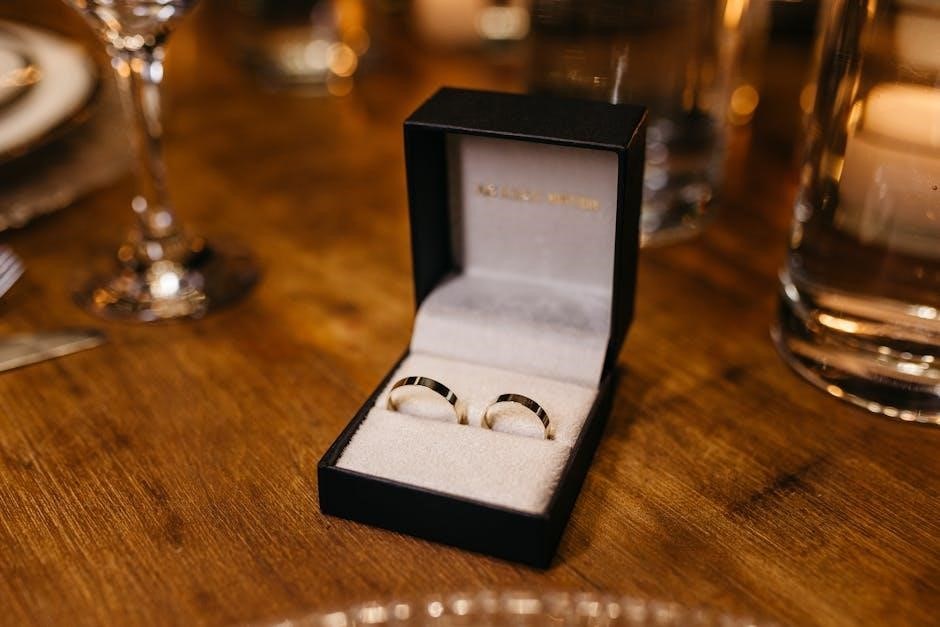
Selecting the appropriate size and layout for your wooden jewelry box is crucial. Consider the items you plan to store, such as rings, necklaces, or earrings, to determine the dimensions. A smaller box might be ideal for everyday essentials, while a larger one can hold a collection. The layout should include compartments or dividers to keep items organized and prevent tangling. Ensure the design is practical yet visually appealing, balancing functionality with aesthetic charm for a timeless piece.
Incorporating Aesthetic Elements
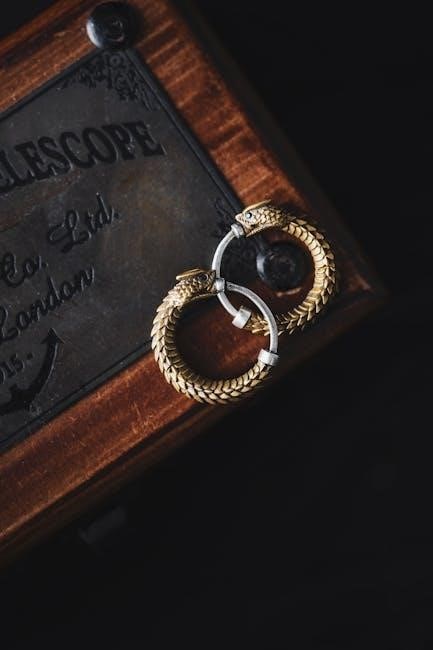
Elevate your wooden jewelry box by incorporating aesthetic elements that reflect personal style. Consider using contrasting woods, intricate carvings, or elegant hardware for a polished look. Adding a soft, felt-lined interior enhances both functionality and visual appeal. Engraving or inlays can introduce unique detailing, making the box a standout piece. Balancing design with practicality ensures the box is both beautiful and functional. These artistic touches transform a simple storage container into a cherished, handcrafted treasure that complements any setting.

Step-by-Step Construction Guide
Start by preparing the wood and cutting pieces according to the PDF plans. Assemble the box and lid, ensuring precise fits. Sand all surfaces for a smooth finish.
Preparing the Wood and Cutting Pieces
Begin by selecting high-quality wood based on the PDF plans. Measure and mark each piece carefully using a ruler or calipers for precision. Cut the wood using a miter saw or circular saw, ensuring smooth edges. Sand each piece to remove splinters and imperfections. Organize the cut components according to the plan’s diagram. Double-check all measurements before proceeding to assembly. This step ensures accuracy and a professional finish for your wooden jewelry box.
Assembling the Box and Lid
Start by assembling the box frame using wood glue and clamps, following the PDF plans for precise alignment. Attach the sides and base, ensuring corners are square. Once dry, fit the lid, which may include hinges for easy opening. Use a rubber mallet to tap pieces into place gently. Double-check the fit before securing with nails or screws. Allow glue to set fully before handling. Proper alignment and even pressure are key for a sturdy, professional-looking jewelry box. Ensure all edges are flush for a seamless finish.
Finishing Touches
Sand the box and lid for a smooth finish. Apply stain or paint, then a clear sealant to protect the wood. Let it dry completely before installing hardware.
Applying Stains and Sealants
Staining enhances the wood grain, while sealants protect the finish. Use a soft cloth to apply stain evenly, letting it dry as instructed. For a glossy look, apply multiple coats of sealant, ensuring each layer dries before adding the next. This step ensures durability and a polished appearance, making the jewelry box resistant to wear and tear. Always follow the product’s instructions for best results.
Adding Hardware and Accessories
Add functionality and style with hinges, latches, and handles. Choose hardware that complements the box’s design, ensuring durability and ease of use. Consider adding felt linings or velvet inserts to protect jewelry. For a personal touch, incorporate decorative trim or engravings. Install hardware carefully, measuring and aligning pieces accurately. Small details like drawer stops or soft-close mechanisms can enhance the finished product. These additions transform a simple box into a polished, professional-looking jewelry storage solution.
Customization Ideas
Elevate your wooden jewelry box with personal touches like engravings, unique hardware, or contrasting wood inlays. Paint or stain can add vibrant color to match individual styles perfectly.
Personalizing the Design
Personalizing the design of your wooden jewelry box allows you to create a unique and meaningful piece. Consider adding engravings, such as names or special dates, to make it extra special. You can also experiment with different stains or paints to match the recipient’s style. Incorporating unique hardware, like vintage latches or decorative hinges, can add a touch of elegance. Additionally, using contrasting wood inlays or intricate carvings can enhance the box’s aesthetic appeal. These personal touches ensure the jewelry box is not only functional but also a heartfelt gift.
Adding Unique Features
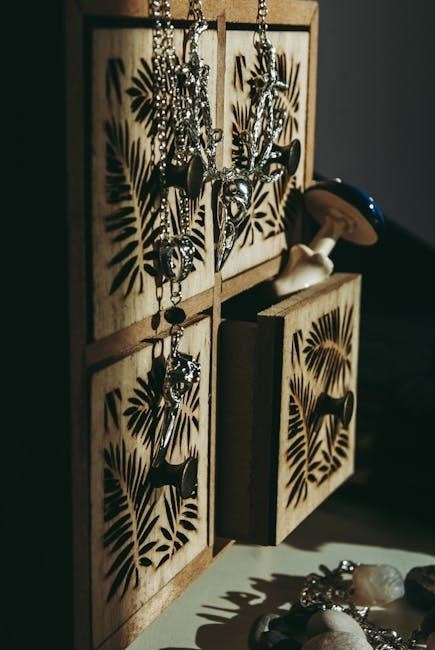
Add unique features to make your wooden jewelry box stand out. Consider engraving personal messages, patterns, or monograms for a personalized touch. Contrasting wood inlays can create stunning visual effects, while a felt-lined interior adds luxury and protects delicate items. Incorporate hidden compartments or adjustable dividers for added functionality. Unique hardware, such as decorative hinges or latches, can elevate the design. These features not only enhance the box’s appeal but also make it a one-of-a-kind, treasured possession.
Safety Tips and Best Practices
Always wear protective gear and ensure proper ventilation when working with wood. Keep tools sharp and maintain a clean workspace to avoid accidents. Follow safety guidelines and use equipment responsibly to ensure a smooth woodworking experience.
Working Safely with Power Tools
When using power tools for your wooden jewelry box project, always wear safety goggles and a dust mask; Ensure loose clothing or long hair is tied back to avoid accidents. Keep tools sharp, as dull blades can cause kickback. Maintain a firm grip on tools and operate them sober. Follow the manufacturer’s guidelines and avoid overreaching. Proper ventilation is essential to prevent inhaling sawdust and fumes. Regularly inspect tools for damage and keep the workspace clean and well-lit. Adhere to safety guidelines to minimize risks and ensure a successful project.
Avoiding Common Mistakes
When building a wooden jewelry box, ensure accurate measurements to avoid misfits; Choose wood suitable for the design and follow the PDF plans closely. Avoid using mismatched materials, as this can lead to uneven finishes. Test stains and finishes on scrap wood first. Don’t rush the assembly—take time to align pieces properly. Double-check cuts and drill holes before finalizing. Proper planning and attention to detail will help you create a professional-looking jewelry box. Mistakes can often be avoided with patience and careful execution of each step.
Resources and Downloads
Find free wooden jewelry box plans as downloadable PDFs online. These resources often include detailed instructions, diagrams, and material lists. Visit crafting websites or woodworking forums to download and print your preferred design, ensuring a smooth start to your project.
Where to Find Free PDF Plans
Free wooden jewelry box PDF plans are available on various DIY and woodworking websites. Platforms like Pinterest, Instructables, and crafting forums offer downloadable designs. These plans often include detailed diagrams, material lists, and step-by-step instructions. You can search for specific styles or sizes to suit your project needs. Additionally, some websites provide customizable templates, allowing you to tweak designs before printing. Ensure you verify the source for accuracy and clarity to avoid confusion during construction.
Downloading and Printing Plans
Once you’ve found the perfect wooden jewelry box PDF plan, downloading is straightforward. Right-click the link and select “Save As” to store it on your device. Ensure your printer settings match the document size, typically standard letter or A4. Print the plans on high-quality paper for clarity. Review the instructions and diagrams before starting your project. If the plan includes multiple pages, organize them for easy reference. Double-check that all pieces and measurements are clearly visible to avoid errors during construction.
Creating a wooden jewelry box using PDF plans is a rewarding project, offering a personalized gift with sentimental value, perfect for woodworking enthusiasts of all skill levels.
Final Thoughts on Building a Wooden Jewelry Box
Building a wooden jewelry box is a fulfilling project that combines creativity and practicality. With detailed PDF plans, you can craft a beautiful, personalized gift. Whether you’re a seasoned woodworker or a beginner, the process offers a sense of accomplishment. The ability to customize designs and materials allows for unique finishes, making each box special. It’s a thoughtful way to create something lasting, perfect for storing cherished jewelry or giving as a heartfelt present to loved ones. The end result is both functional and elegant.